Last updated: August 23, 2026
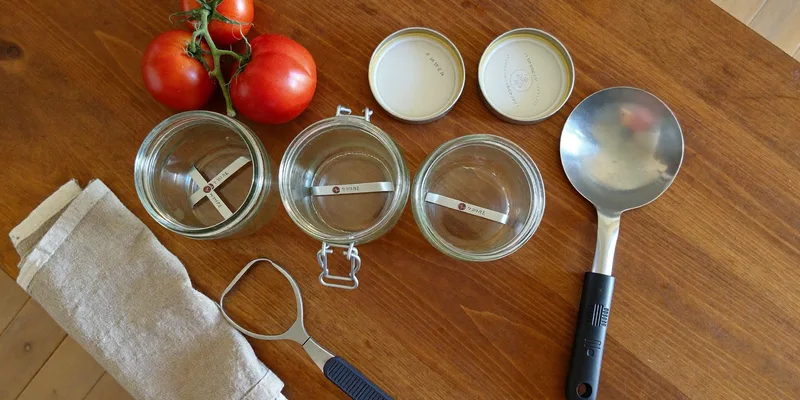
Walk into the canning aisle in July and it looks like you need forty dollars of gadgets before you can put up a single jar of jam. You do not. The list of things that genuinely change the outcome is short, and most of it lasts for years, which is why the same jar lifter shows up in three generations of the same kitchen.
This is the checklist version: what you need before your first batch, what to add once you know which recipes you repeat, and what the kits pad themselves out with. It is organized by method, because a jam kitchen and a green bean kitchen need different core equipment.
This article contains affiliate links. If you buy through them, we may earn a commission at no extra cost to you. Learn more.
Quick Answer
What canning supplies do you actually need?
- A canner that matches your food: a boiling water canner for high acid recipes, a pressure canner for vegetables, meat, and soup.
- Jars, new lids, and bands. Lids are single use; jars and bands are not.
- Four small tools: jar lifter, wide mouth funnel, bubble remover with a headspace scale, and a magnetic lid lifter if you like one.
- A tested recipe source. It is not equipment, but it is the part that decides whether the rest is safe.
Bottom line: canner, jars, new lids, four tools, and a tested recipe. Everything else can wait until season two.
Start With What You Plan to Can
The food list decides the biggest purchase. High acid foods such as jam, jelly, fruit, pickles, and acidified tomatoes are processed in boiling water, so a deep pot with a rack is enough. Low acid foods including green beans, corn, carrots, meat, and soup require a pressure canner, which the NCHFP states is the only safe method for them.
Most people start with jam and pickles, discover they like it, and buy the pressure canner the following spring. That is a perfectly reasonable order to spend money in, and it avoids buying a heavy canner for a shelf you have not filled yet.
The Canner Itself
For high acid recipes you need a pot deep enough to keep an inch of water over the jar tops with room to boil, which the USDA Complete Guide to Home Canning sets as the minimum water cover, plus a rack that keeps jars off the bottom. Our water bath canner guide covers enameled, stainless, and stockpot setups.
For low acid foods, the canner has to hold at least four quart jars upright to meet the NCHFP definition of a pressure canner, which rules out pressure saucepans and multicookers. Our pressure canner guide compares sizes and gauge types.

Jars, Lids, and Bands
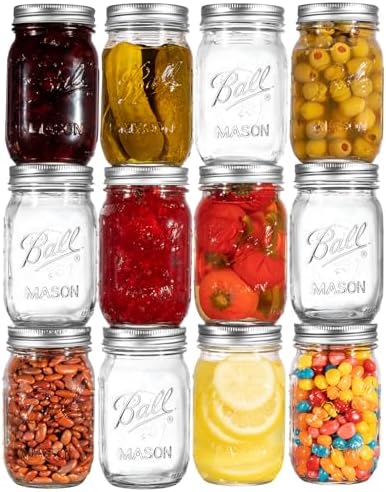
Buy jars made for home canning rather than reusing commercial food jars, which are not manufactured for repeated processing and which the NCHFP advises against using. Jars come by the case, keep for years, and get cheaper per jar in bulk, which is why experienced canners buy them in the off season.
Lids are the consumable. Standard metal lids are single use by the manufacturer’s own instructions, so every batch needs new ones, and running out mid harvest is the classic August emergency. Bands are reusable until they rust or bend.
How Many to Buy
Count the batch, not the season. A standard boiling water canner load is seven quarts or nine pints, so two cases of the size you actually use lets you fill one load while a second batch cools. Our canning jars guide covers types and bulk buying, and canning lids covers the lid side, including reusable options.

The Four Tools That Earn Their Space
A jar lifter is the only one that is genuinely irreplaceable, because lifting a hot quart jar out of boiling water with tongs is how people burn themselves and drop jars. A wide mouth funnel keeps food off the rim, which is the leading cause of a jar that will not seal.
A bubble remover with headspace markings does two jobs in one plastic stick: releasing trapped air and confirming the headspace your recipe specifies. A magnetic lid lifter is the optional fourth, useful if you keep lids in warm water and dislike fishing them out.

What the Kits Add That You May Not Need
Kits often bundle tongs, a jar wrench, and a plastic ladle. None of them are bad, and none of them decide anything. Buy the kit if the price is close to the individual tools, and do not pay extra for the count on the box. Our canning kit article compares the common bundles against buying pieces separately.
Supplies by Method
| Item | Water bath kitchen | Pressure canning kitchen | Buy when |
|---|---|---|---|
| Canner | Deep pot with rack | Canner holding four quart jars minimum | Before batch one |
| Jars and bands | Pints and half pints mostly | Quarts and pints | Off season, by the case |
| Lids | New every batch | New every batch | More than you think |
| Tools | Lifter, funnel, bubble remover | Same, plus gauge testing each year | With the canner |
The one recurring cost in that table is lids, and the one recurring task is having a dial gauge tested, which the USDA Complete Guide to Home Canning advises doing annually.
The Second Season List
Once you know what you actually make, a few additions pay off. Labels that survive a wet shelf, a headspace tool if your kit lacked one, extra racks, and a second canner so a load can cool while another processes. Our guides to canning labels and canning tools cover those.
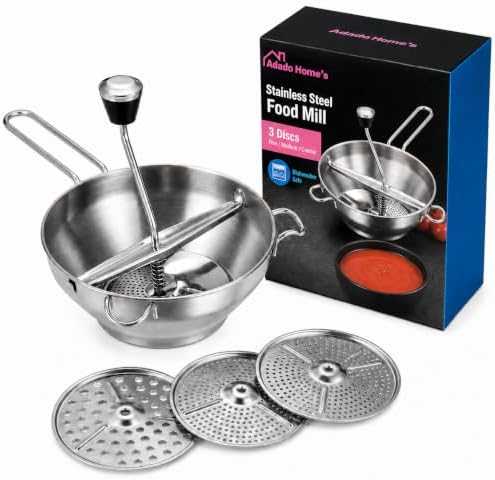
For anyone doing volume tomato work, a food mill is the upgrade that changes the day, since it separates skins and seeds without blanching and peeling every fruit by hand. Our food mill guide compares the manual and electric options.
What You Can Skip
Skip anything that promises to replace a tested process. Sealing wax, oven canning racks, and dry canning gadgets all circulate online, and the NCHFP names open kettle and oven canning as unsafe. No accessory changes what a method can safely do.
Skip novelty jar shapes for anything you intend to process, since tested times are written for standard canning jar sizes. Decorative jars are for gifting dry mixes and for storing a finished product in the refrigerator, not for processing.
Frequently Asked Questions
I have never canned anything. What do I buy first? A boiling water canner with a rack, a case of pint jars with new lids and bands, a jar lifter, a funnel, and a tested recipe. That combination puts jam, pickles, and applesauce on the shelf without another purchase.
Can I use pasta sauce jars I saved? No. The NCHFP advises against reusing commercial food jars for home canning, since they are not made for repeated processing and standard canning lids are not designed to seal them reliably.
Do I need both a water bath canner and a pressure canner? Not necessarily. A pressure canner can be used as a boiling water canner for high acid foods with the lid unlocked, following your tested recipe. Many canners still keep a light pot for jam because it is easier to handle.
How many jars should I buy at once? At least twice a canner load of the size you use most, so one batch can cool while the next one processes. Jars do not expire, and buying by the case in the off season is the cheapest way to stock up.
Are the all in one canning kits worth it? They are worth it when the bundle costs about what the pot and the four core tools would cost separately. They are not worth paying extra for a high piece count, since the extra pieces are mostly duplicates of things you own.
What is the one tool people wish they had bought sooner? A wide mouth funnel. It costs almost nothing and removes the most common cause of a failed seal, which is food residue on the jar rim.
The Bottom Line
Buy the canner your recipes require, a case of jars with new lids, and four small tools, and you are fully equipped for a first season. Add labels, a second canner, and a food mill only after you know which batches you actually repeat. Read next: which canning jars to buy and how the water bath process runs from start to finish.