Last updated: August 23, 2026
The machine pulls, the bag tightens, the light goes off, and an hour later the bag is loose again. Or the seal looks fine until the marinade wicks into the seam. Or you get four good bags out of a cooler of venison and then the sealer starts refusing to run at all.
Almost none of that is a broken sealer. The same handful of mistakes shows up in owner reviews of every brand, and most of them cost nothing to fix once you know what the machine is actually complaining about. Work through the free corrections first, and buy something only where the gear genuinely is the limit.
This article contains affiliate links. If you buy through them, we may earn a commission at no extra cost to you. Learn more.
Quick Answer
Why do vacuum sealed bags keep failing?
- Moisture in the seam is the number one cause. Dry the bag mouth, fold a cuff before filling, and freeze wet food solid first.
- Leave a generous tail above the food. A short bag gives the seal bar nothing clean to weld.
- Smooth bags do not work on an external sealer. Those machines need embossed or channeled bags.
- Let the machine rest between bags. Cheap sealers cut out on bulk work because the seal bar overheats.
Bottom line: four of the five fixes are free. Only sustained bulk work and liquids really call for different equipment.
Work Through the Free Fixes First
Before you buy anything, run the checks in the order a service line would. Wipe the sealing area, cuff the bag, leave a longer tail, let the unit cool, and check that the bag type matches the machine. Between them those five account for most failed seals, and none of them costs a cent.
Doing them in order matters, because two of these mistakes look identical from the outside. A bag that loses vacuum overnight can be a wet seam or a puncture, and you will chase the wrong one if you skip a step.
1. Dry the Seam and Cuff the Bag
Any moisture in the weld line gives you a seal that looks perfect and leaks by morning. Wipe the inside of the bag mouth with a paper towel before sealing, and fold the top of the bag outward into a cuff before you fill it, so juice never touches the area the bar will heat. Unfold the cuff just before sealing.
2. Leave a Longer Tail Than Feels Necessary
A short bag is the second most common self inflicted problem. The food gets pulled toward the seal bar as air leaves, and if there is not enough empty bag above it, the machine seals over food particles. Give yourself a hand width of empty bag, and remember that you can reseal and reuse a long bag later.
3. Let the Machine Cool Between Bags
Most consumer sealers are built for a household batch, not a hunting season. When the seal bar and the pump heat up, the machine either stops sealing properly or refuses to start a new cycle. Waiting a minute between bags fixes it for the day. If you are doing this every weekend, that is a real limit rather than a fault, and the section below covers it.
Mistake: Using the Wrong Bag for the Machine
External sealers pull air out through the open end of the bag, so they need an embossed or channeled texture on the inside to give the air a path. Smooth bags collapse against themselves and the pump has nothing to draw through. This single mismatch explains a surprising share of reviews that describe a machine as weak.
Bag thickness matters just as much for anything with a bone or a sharp edge. A thin bag over a rib bone punctures during freezing and you find the loose bag weeks later. Buying rolls rather than precut bags lets you cut to the cut of meat, which wastes less film than it sounds. Our guide to vacuum sealer bags works through thickness and roll widths.
Best all round stock for an external sealer

Mistake: Sealing Wet Food Straight From the Bowl
Soup, marinade, brine and juicy fruit all get pulled toward the pump the moment the cycle starts. On an external sealer the answer is to freeze first. Pour the liquid into a container or a bag laid flat on a tray, freeze it solid, then seal the frozen block. The pump never sees the liquid.
The alternative is a machine built for it. A chamber sealer surrounds the whole bag with the same low pressure, so nothing gets sucked out and liquids seal as easily as dry goods. It is a bigger purchase, and it is the right one if you brine, batch soups or run sous vide regularly, as our guide to sealing liquids explains.
Best if you seal soups, brines and marinades often
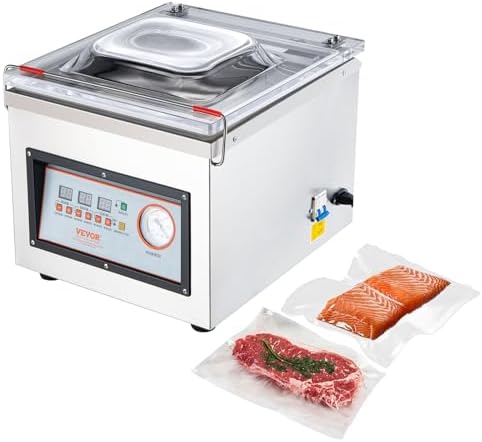
Mistake: Asking a Light Sealer to Do Bulk Work
The most repeated complaint in sealer reviews is overheating during a large session. Owners describe the first several bags going perfectly and the machine then pausing, refusing to start, or producing weak seals until it cools. That is a duty cycle limit, not a defect, and no setting works around it.
If your normal session is a whole hog, a deer, or a bulk warehouse run, a heavy duty unit with a stronger pump and a double seal bar changes the day. It also puts down a wider weld, which is what you want on anything that will spend a year in a chest freezer. Our heavy duty sealer guide and sealing meat guide cover the models built for that pace.
Best if you seal a whole animal in one session

Mistake: Treating a Sealed Bag as Shelf Stable
Sealing removes air, and that is all it does. It applies no heat, so nothing on the food is killed. UConn Extension is direct about the storage rule: perishable vacuum packed foods must be refrigerated between 34 and 38 degrees F or frozen at 0 degrees F, and cannot be safely stored at room temperature.
The uncomfortable part is that a vacuum bag also removes your warning system. UConn Extension notes that the bacteria food safety specialists worry about are the ones that prefer an oxygen free environment, while the ordinary spoilage organisms that make food smell wrong need air. Dry goods are the exception, and the comparison in vacuum sealing versus canning sets out where each method belongs.
The Common Failures at a Glance
The table maps what you see to the first thing to change. Work down the free column before you reach for the gear column, because in most cases the free fix is the whole answer.
| What you see | Usual cause | Free fix | When gear is the answer |
|---|---|---|---|
| Bag is loose the next morning | Moisture or a crumb in the weld | Wipe the seam, cuff the bag, reseal | Only if it repeats on dry food |
| Liquid pulled into the machine | External sealer on wet food | Freeze the liquid solid first | Chamber sealer for regular batches |
| Machine stops mid session | Seal bar and pump overheating | Rest a minute between bags | Heavy duty unit for bulk days |
| Bag never draws down | Smooth bag on an external sealer | Switch to embossed bags or rolls | New bag stock, not a new machine |
Mistake: Sealing Vegetables Without Blanching First
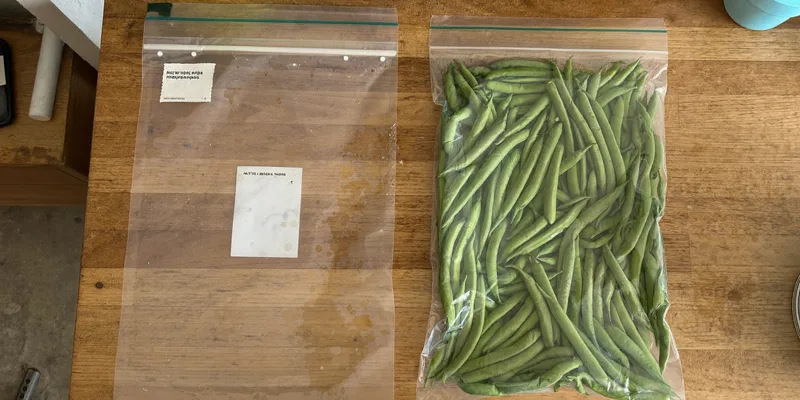
Raw vegetables keep working after you seal them. Enzymes carry on breaking down color, flavor and texture in the freezer, and a vacuum does nothing to stop that. NCHFP directs you to blanch vegetables before freezing them for exactly that reason, so a sealed bag of unblanched green beans still turns off flavor within months.
The routine is short. Blanch for the time the NCHFP tables give for your vegetable, cool it fast in ice water, drain it properly, then freeze the pieces loose on a tray before sealing, so they do not weld into a brick and the last of the surface water is gone. That tray step also fixes the wet food problem further up this page, so you are solving two mistakes at once. Peppers and onions are the common exceptions, since they go into the freezer raw.
Frequently Asked Questions
My sealer crushes berries and bread. What now? Use the pulse or manual setting and stop the cycle by hand when the bag is snug rather than tight. Soft foods need partial vacuum, not full vacuum. Freezing berries on a tray first also lets them take a stronger pull without collapsing.
Why does my sealer stop working after several bags? It is almost always heat. The seal bar and the pump in a consumer machine need a rest between cycles, and most manufacturers say so in the manual. If it happens every session, the machine is under specified for your volume rather than faulty.
Can I reuse vacuum sealer bags? Yes for dry goods and for anything you can wash and dry thoroughly, cutting just below the old seal each time. Do not reuse bags that held raw meat, raw fish or anything oily. Start each reuse with a completely dry bag mouth.
Do I need special bags, or will any plastic bag work? External sealers need embossed or channeled bags, and ordinary storage bags will not draw down. Chamber machines use smooth bags, which are cheaper per bag but only work in that type of machine. Our bag guide compares the types.
Is it safe to vacuum seal cheese or garlic in oil? Keep both refrigerated and treat them as short term storage. Removing oxygen favors organisms that grow without it, which is why UConn Extension limits vacuum packed perishables to refrigerator or freezer temperatures rather than the pantry.
The Bottom Line
Dry the seam, cuff the bag, leave a longer tail, rest the machine, and check that your bags match your sealer. Those five habits clear most vacuum sealing failures without spending anything. Where money genuinely helps is liquids and bulk sessions, and those are equipment problems rather than technique problems. Read next: our vacuum sealer buying guide and the bag comparison for the stock that fits your machine.